Welcome to my quick blog setup guide
We are living in a time when anyone can become an entrepreneur and make money on the web. Blogging is one of many ways to do this and is one of the easiest ways to bring in some mad money. I get asked all the time, “What is a blog and how do I start one?” The next question is, “how can I make money just writing about my life on a website?”
The most important question is, “what will I talk or write about?” For single moms the topics are endless. You can talk about your struggles and triumphs. You can discuss your finances like Emma Johnson does over at Wealthy Single Mommy. If you have a pet project or pets you can blog about them. If you have goals that you are trying to reach blog, about it. If it’s about your quest to buy a house, a car, or start or finish college, write about that. If you are recovering from an abusive relationship, blog about your journey or, if you just got engaged blog about the wedding plans.
It’s best that your topic stays pretty focused so that your readers know what to expect and so that potential sponsors can target its advertising on your site. Focusing the content of your site also helps you in creating new posts and makes you something of an expert in your subject matter. Planning your content around a focal point gives you a lot of ideas to work with and expand on. It also cuts down on confusion and writer’s block.
Adding different elements to your blog to make it interactive is essential for getting people to come back. So is updating your blog regularly (at least once a week).
After you have written a few entries on your blog you will want the world to know about it. There are several ways to accomplish this goal.
- Submit your blog to blog directories, more specifically directories that fall within your topic range.
- Promote your post on Pinterest, Facebook, Instagram, and other social media channels.
- Add metadata to your blog template (it’s not hard) so that the search engines can find it.
- Speaking of search engines, be sure to add tags to your post each time and use keywords within your post that people normally search.
There is a lot more to blogging but with these basics, you can have one up and running in no time.
If you have been contemplating starting a blog or website your timing couldn’t be better. Blogs are a perfect way to share your passion with the world and make money too.
But how do you start a blog?
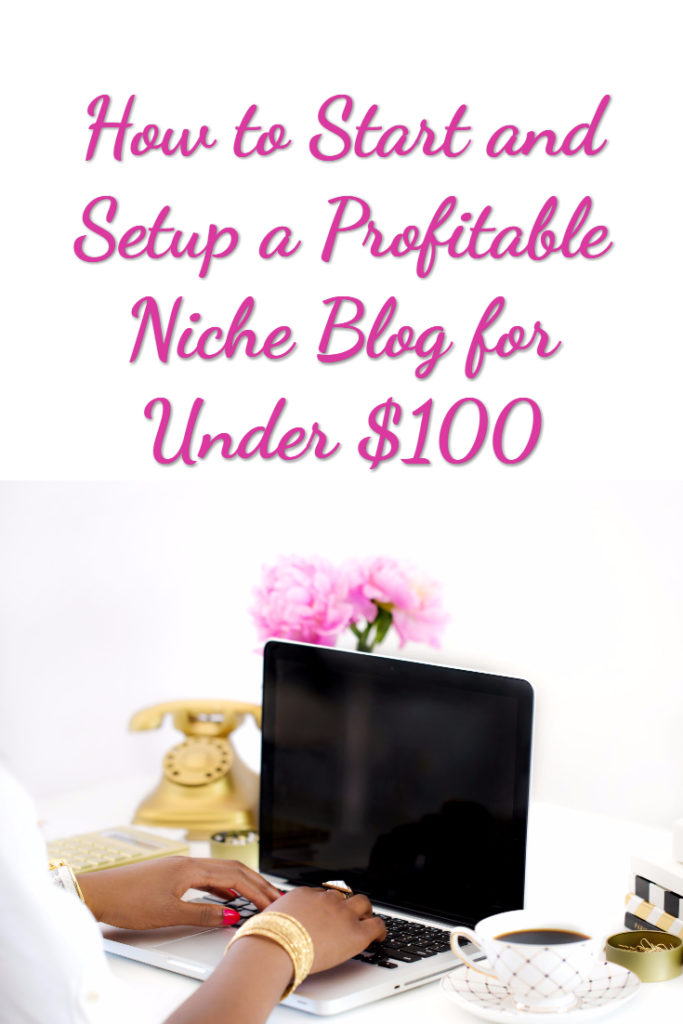
That is one of the biggest questions I get when I tell people that I’ve been blogging for years. Here is how to set your blog/ website up in four steps:
Blog Setup Step 1 – Decide on Your Niche or Focus

The first step is to decide what you want to share with the world. Is it a hobby, your experience as a single mom, specialty cooking, your profession, or how much you love travel, dogs, or playing darts.
A blog can be about anything you want it to be about. With that being said you also want to decide if your topic is something other people want to read about or are researching.
Even though you have a blog, it is not guaranteed that if you build it they will come. Your topic does need to have some appeal so people will visit. Those visitors can turn into clients or customers.
Click here to start the blog setup process
Blog Setup Step 2 – Get a Domain Name

Now that you know what you are going to blog about the next step is to get it set up. You will need a place for your blog to live.
You can create a blog pretty easily on a free site like blogger or WordPress.com and be up and running, but you will have a few limitations.
If you plan to make money I recommend setting up your blog so you own it outright. It is like you own the property instead of having to pay to play.
The first thing you need is a domain name. With a Blogger or WordPress.com site, your blog name will be something like yourblogname.blogspot.com or yourblogname.wordpress.com. Very different from yourblogname.com.
Go for originality and get your own domain name. I love GoDaddy.com because they always have special and discounts. You can get a domain name for $.99 sometimes. When it’s time to renew you will have to pay full price but $.99 for a year is a great way to see how you like your blog and the entire process.
Blog Setup Step 3 – Get Website Hosting

The next thing you need is a place for your blog to live. It’s called a hosting site.
Most websites and blogs live on a hosted server. I won’t go into all the technical details but that is how it is unless you have your own private server which can get expensive. So get your hosting through a reputable company.
This blog, RichSingleMomma.com, has been hosted on Hostgator.com for the last seven years or so. I haven’t had any issues with them and they have always helped me when I needed them.
Why can’t I use a free blogging service? Why set up a blog on your own server?
You could set up a free blog on Blogger.com or WordPress.com and it could look very nice. But you would be at the mercy of someone else’s whims. If they don’t like what you put on your blog they could shut you down and you’d lose all your hard work in an instant.
In the case of WordPress.com, you are not allowed to place ads or products to make money on your site. You cannot put Adsense or any other money generating ad networks on your blog.
With your own WordPress blog that is hosted on your server, you own everything and never have to worry about being shut down or limiting your money generating activities.
Here are the steps to set up your Hostgator website hosting service:
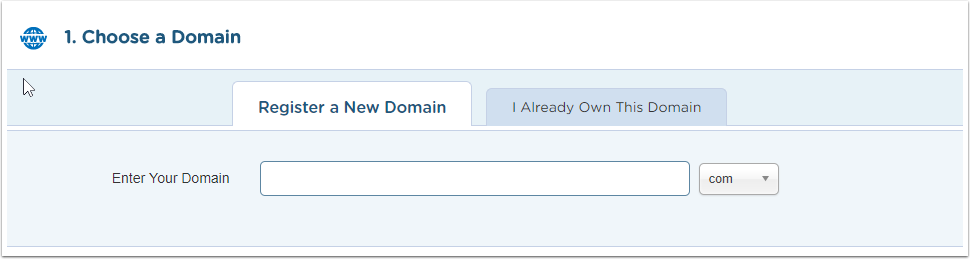
Choose Your Domain Name
If you have a domain name already you can skip this part

Choose your plan
I recommend you choose the 36-month plan to get the most bang for your buck. You can add unlimited domains to your plan.


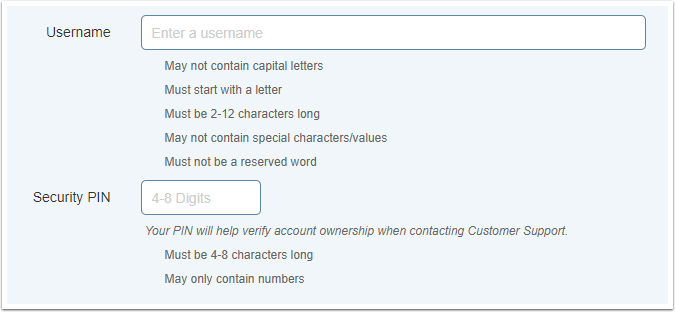
Enter a username and pin code to access your new account

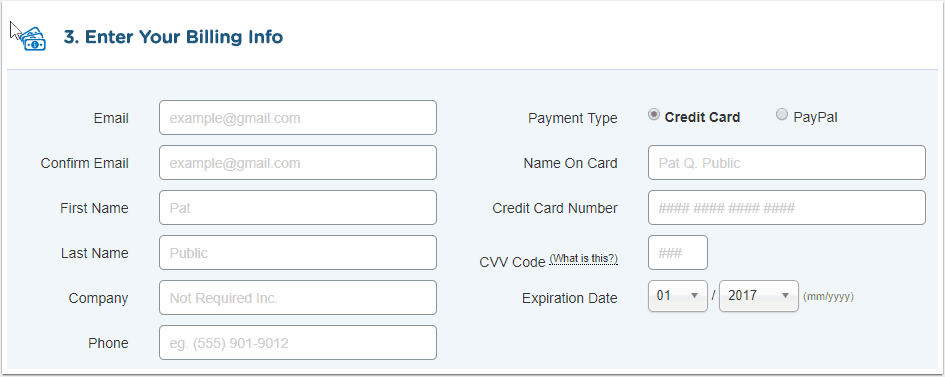
Enter your billing information

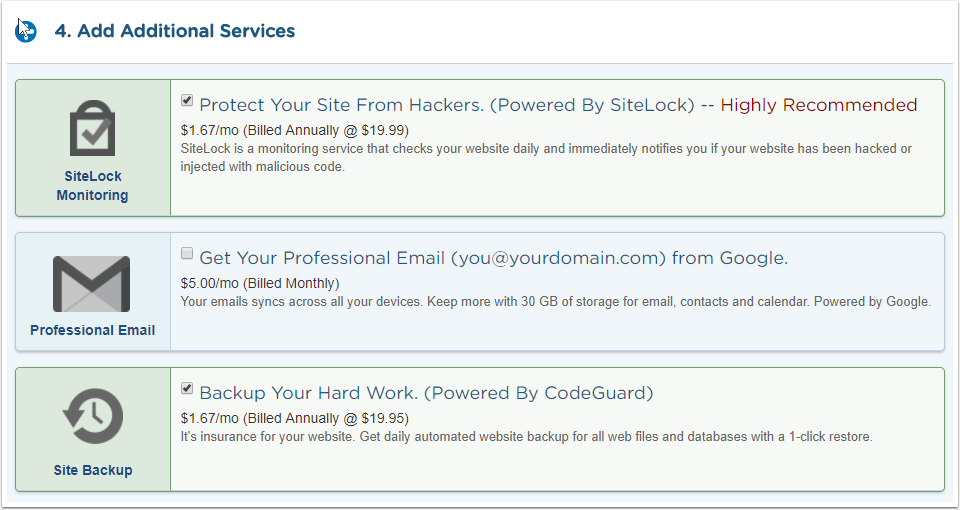
Choose optional add-on services
You can add them now or later. You might find them useful especially if you are concerned with hacking, monitoring, or want email service from Google. Your account comes with email capability so you don’t really need this part.

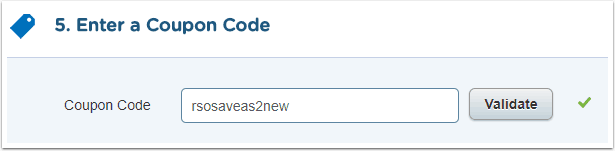
Enter a coupon code (if applicable)
If you find a coupon code online you can enter it here. It can help reduce the cost of your hosting. Check RetailMeNot.com or CouponCabin.com to see if they have a code.

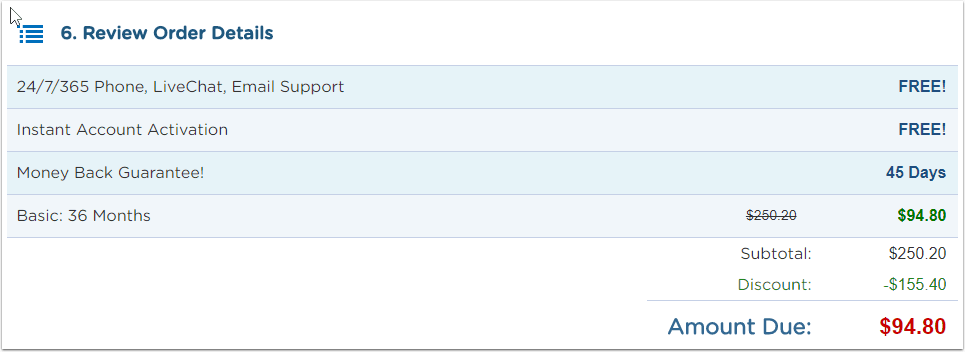
Review Your Order
You can see here that a 36-month plan can be less than $100! That is an amazing bargain for online real estate. Yes you are now the proud owner of prime internet real estate. Congratulations!

Read the fine print
Your hosting price is an introductory price. The renewal price may be a bit higher, but by that time you will have an extremely profitable niche blog! 😉 Click to accept the terms and then you are ready to check out.


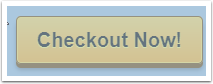
Check Out
Click the check out button to make your purchase. You will receive an email with your account information and login details.

Click here to start your profitable niche blog set up
Blog Setup Step 4 – Install WordPress (for free)
Once you have your hosting company, the next step is connecting your domain name to the hosting company.
You might be wondering why you can’t get them all in one place. You actually can, but I don’t recommend it. As a best practice, keep your domain name and hosting separate. You maintain more control over everything.
Now you are ready to point your domain name to your hosting. Go to the email you got from Hostgator and copy the Nameserver information to notepad. You will need that information to update the Nameserver.
You can watch the video below to see how to connect your domain name to Hostgator.
Now that you have your domain name and hosting connected it’s time for the fun part.
You will now install WordPress for your blog. It all happens in the back office of your hosting service.
Here is a video that shows you have to install WordPress.
Now that it’s installed you can begin to blog when you log into your blog’s admin area. Ready? Set. Go!
Blog Setup Action Steps:
- Get your domain name
- Get your blog hosting
- Set up WordPress
- Start Blogging
Blog Set Up Step 5 – Make Money

Now that you have your blog set up it’s time to think about how to make money from it. Here are three ways you can start making money from you blog:
1.Review and Recommend Products
When you build an audience you can begin reviewing and recommending products. Set up an Amazon Associates account and then link the products you recommend and get paid a commission when people click on the item.
2. Sell Products
If you are creative you can sell your own products. It can be t-shirts, crafts, jewelry, or something else. Set up a Gumroad or Shopify seller account to sell your goods or services.
3. Sell services
Depending on your blog theme you may be able to sell consulting services. You might offer virtual assistant, social media management, or coaching services.
It’s completely up to you to decide what will work for you.
Does this feel overwhelming? If so, you should check out my Free WordPress Setup offer. I will set up your blog for you on an easy to use template. Click Here to request this service now.
Are you ready to start a blog? What will you blog about? How will you make money from it? I’d love to know so do me a favor and leave a comment below.